PerfixImage
Sony A290 Camera
Step by Step Check Photo Properties


Step 1 - Switch on laptop
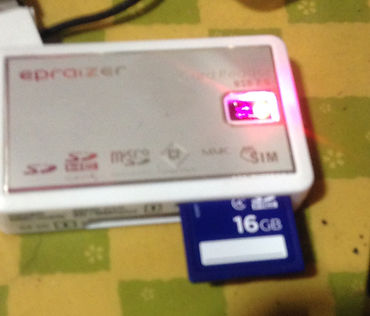
Step 2 - Insert SD chip to card reader
Step 3 - Once SD chip detected the above screen will popup, double click on "Open folder to view files using Windows Explorer"


Step 4 - Double click on DCIM folder to access to all photos

Step 5 - More sub folders will appear.
In this example, double click on
122MSDCF folder
Step 6 - Click once on the photo you want, in this example, click once on the photo DSC05371.JPG you will see the filename turns blue

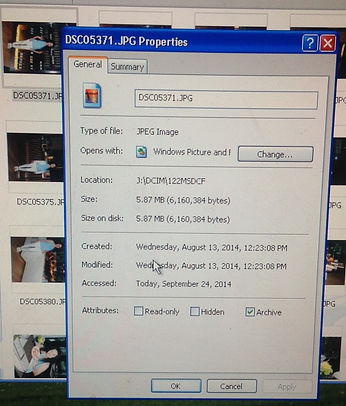
Step 7 - Click your right mouse button, a menu will drop down, choose Properties by click left mouse button
Step 8 - A menu will pop-up, just below the blue title, there are two tabs, click on Summary tab
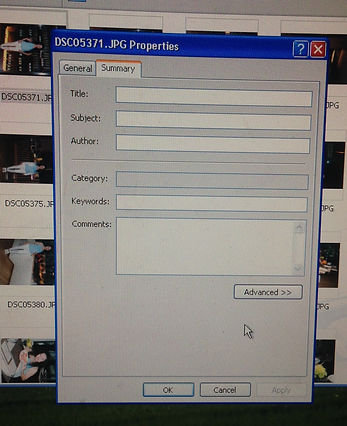
Step 9 - Now the Summary tab is infront of the General tab. click on Advanced button


Step 10 - Now the photo properties will appear such as ISO, F-Number ...etc, on the right side of this box is a scroll bar, slide it downwards to see more info.
Step 11 - Finally, take note of all the photo properties you want and click OK to end.